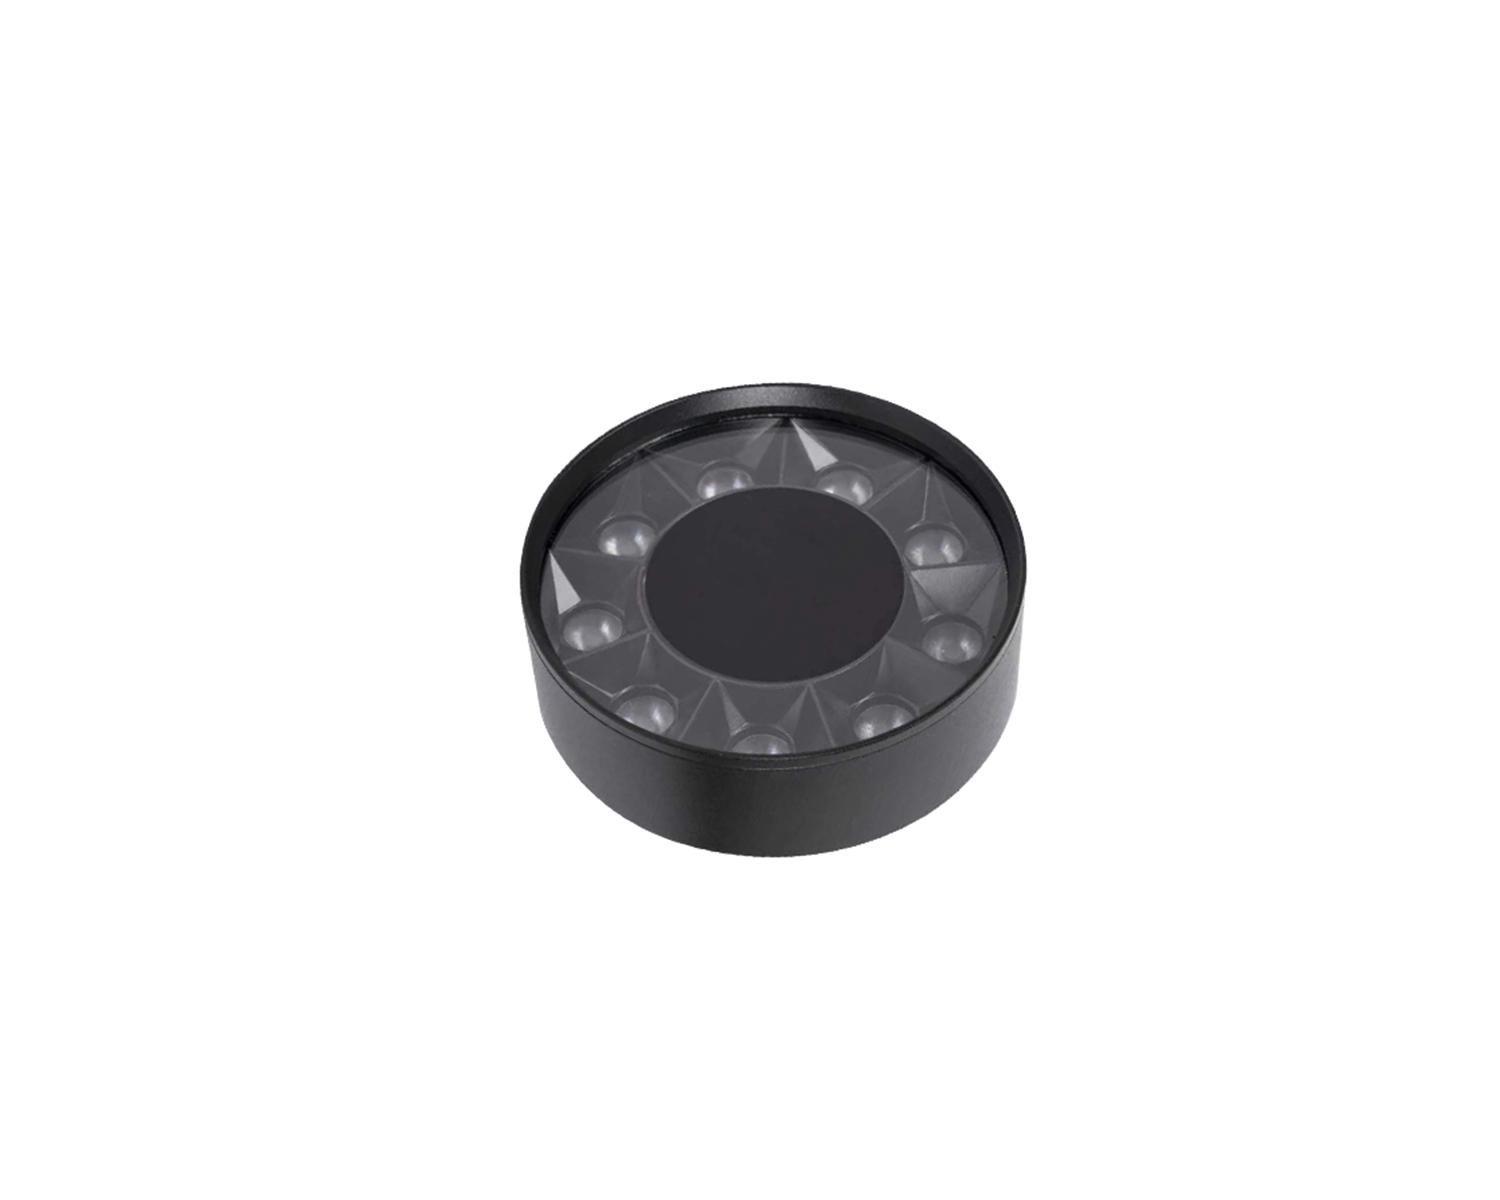
Compare arrays with linear rows
A clustered body concentrates the visual presence of optical cells. Decide whether the room benefits from discrete nodes of light or a longer repeated line. Draw the array as a visible group on the ceiling plan, then compare it with a straight grille serving the same furniture zone. A cluster can make the lighting position feel like a local destination, while a row emphasizes the direction of the rail. YZ-M26-GG9W, GG18W, GG27W, GG16W and GG24W should retain their individual body descriptions during that comparison. The identifier alone should not stand in for a shape drawing. Look from the entrance to see whether several groups overlap into a heavy patch beneath the ceiling. Leave unoccupied rail between clusters where it helps each one read separately. The chosen arrangement should relate to the target below rather than merely repeat the same optical group at every available position.
Review rectangular footprints
Different array shapes interact with furniture and ceiling geometry differently. Show the body outline on the reflected plan rather than representing every fitting with the same generic dot. Aligning a rectangular group with a counter may reinforce that work zone, while rotating the same visible footprint across a narrow passage can make the rail look crowded. Request the dimensions for the exact GG array model before deciding which edge should follow the furniture. Include its projection beneath the rail in a section, especially where nearby beams lower the apparent ceiling. A change from GG16W to GG24W should be reviewed against the actual housing drawing rather than treated as a numerical spreadsheet revision. Keep the optical direction and the body orientation legible on the same plan. An array's footprint affects the daytime composition even when its light distribution is the main reason for selecting it.
Specify the intended distribution
A spotlight description and a flood description communicate different lighting jobs. Keep that functional description beside the mini-star identifier when requesting a fitting. The YZ-M26-MN16W marking appears with both spotlight and flood descriptions, so a model-only request does not resolve the optical choice. Put each intended variant on its own schedule line with the relevant technical sheet and target. For a small display, describe the object and its position; for broader fill, identify the occupied zone or background surface that needs light. Ask the proposal to repeat the optical description rather than shortening both entries to mini-star. Review a sample against the intended use before accepting an apparently similar body. This distinction also matters during replacements, when a matching housing could restore the ceiling appearance while changing the illumination beneath it. Preserve the approved optical identity in the handover record as well as the purchase order.
Check body scale from below
A compact footprint on paper can still read strongly in a low ceiling. Compare the assembled depth and face size from the room's ordinary viewing positions. Sit beneath a sample location and look across the room toward the array, because the underside pattern may be more noticeable there than in a product photograph. Dark ceiling paint can reduce some body contrast while leaving the optical cells prominent when illuminated. Ask for the installed outline of the chosen YZ-M26-GG array and draw the rail above it, rather than illustrating the luminaire alone. Near a curtain head or tall partition, check that the clustered face does not visually merge with another ceiling feature. Keep the MN16W optical variant separate in this assessment if it is also proposed. Similar compact proportions do not guarantee that two different optical faces will appear equally quiet from a sofa or passage.
Use arrays around focal zones
Grouped optics can help define a display or task area. Locate the target first so the selected array serves a meaningful part of the space. Over an island display, identify which faces of the objects need attention and where people will stand around them. A ceiling position centered on the island may not illuminate its outward-facing merchandise as well as the plan suggests. Ask for the appropriate optical data for the selected GG body and compare its distribution with the target geometry. Avoid using a dense array solely because it offers a strong visual feature on the rail. A shelf with several projecting objects may create shadows that require a different head position or an additional optical function. Keep the physical arrangement flexible until the display has been assessed. The final target reference should stay attached to the array model so a later merchandising change can be reviewed intelligently.
Coordinate the fixture identity
Request the exact orderable variant using its optical description and technical sheet as well as the model marking. Preserve those details in the final schedule. This is particularly important for the mini-star MN16W spotlight and flood descriptions, which cannot be distinguished safely through the identifier alone. Add the approved body outline, finish description and ceiling location to each entry. For the GG array models, keep GG9W, GG18W, GG27W, GG16W and GG24W written in full rather than merging them into a general grille-array allowance. Ask any proposed alternative to identify which original drawing and optical function it replaces. Include the selected fittings in the complete 48V power review, using the actual technical information supplied for those variants. An unambiguous schedule should let the buyer, electrician and person checking the delivered bodies agree on the same fitting without interpreting a product nickname.
Review arrays within the broader scheme
Compare the proposed clustered forms with nearby spots and floods. A small number of well-placed optical groups can give the room a clearer hierarchy than an unbroken variety of heads. Lay the array bodies, mini-star forms and any linear modules onto one ceiling elevation before considering each collection separately. The array may already provide enough visual emphasis for a particular zone, leaving neighboring rail better served by quieter bodies or deliberate gaps. Check that the light from adjacent fittings supports the intended focal point rather than flattening every surface to the same importance. A GG array serving a display and an MN16W flood serving circulation have different responsibilities even if they sit close together. Keep those roles visible in the quotation drawing. When reducing quantities, remove a redundant lighting task rather than trimming every body type equally and weakening the planned hierarchy across the room.
Bring the selection into the room: M26 Grille Arrays and Mini-Star Forms
Specify M26 arrays through their footprints and optical jobs. Show the selected GG bodies at scale above the target zones, and distinguish the MN16W spotlight description from the flood description wherever that identifier appears. Include an underside view for low rooms and a complete 48V fitting schedule. The grouped optics should then read as deliberate local features, with neighboring rail and broader illumination supporting the same room hierarchy.